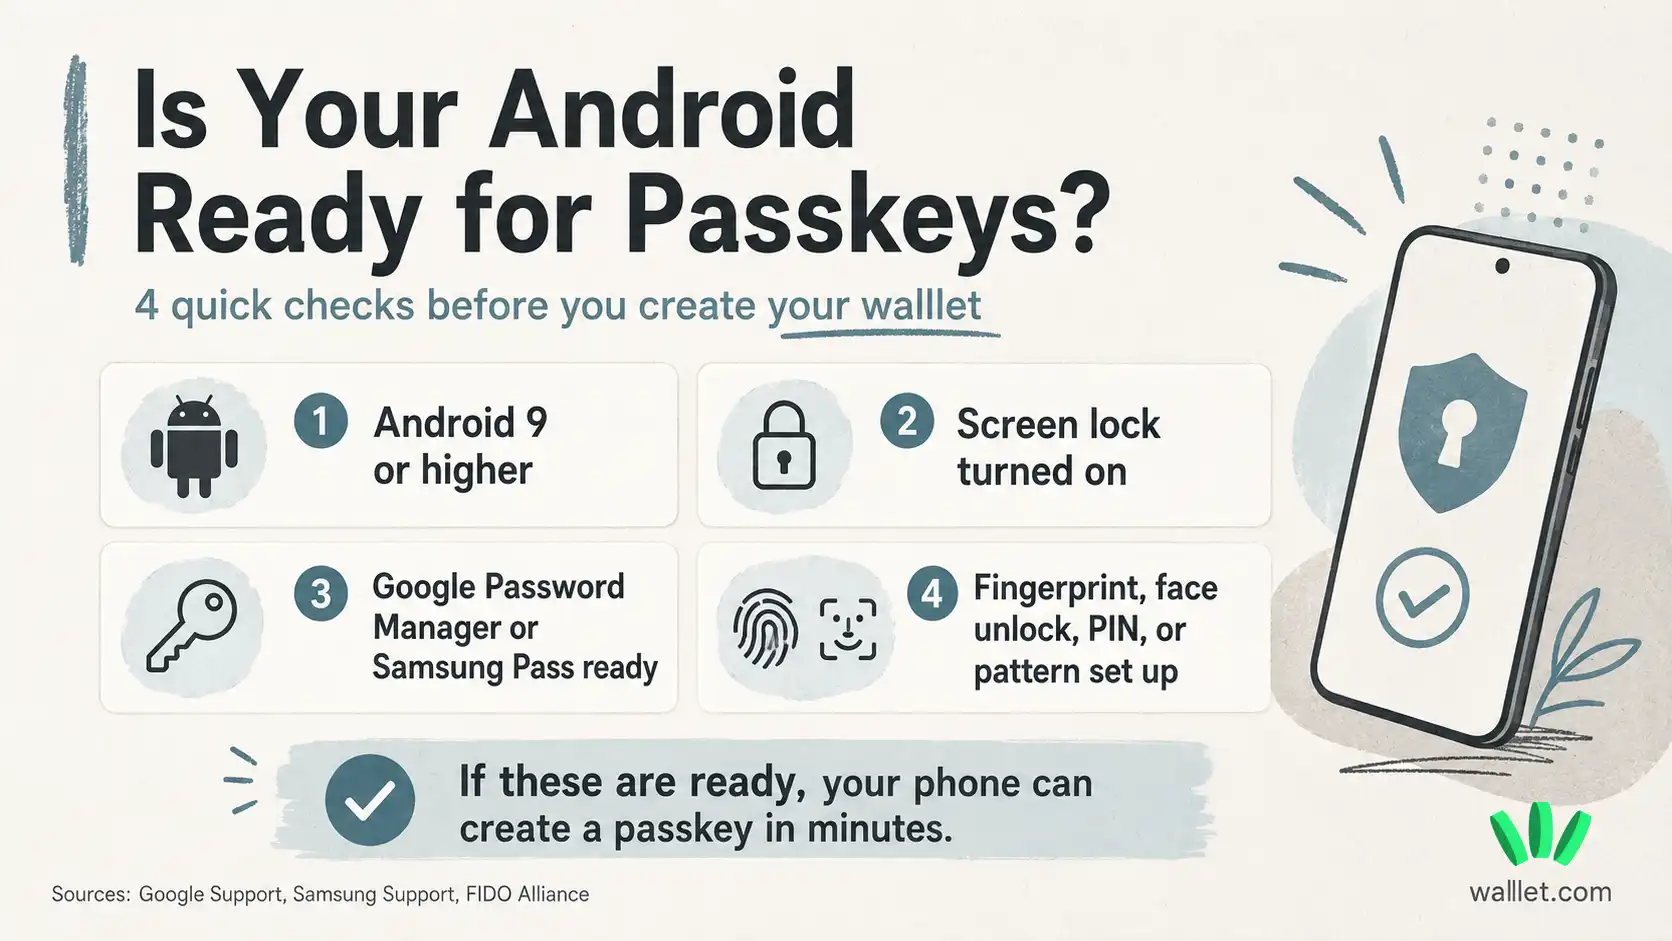
To create your walllet.com on Android, you need an Android phone that can create and save passkeys. In most cases, that means Android 9 or higher, screen lock turned on, and either Google Password Manager or Samsung Pass set up properly.
A passkey lets you create and access your walllet.com without a password or seed phrase. Your phone confirms it is really you with fingerprint, face unlock, PIN, pattern, or another screen lock method.
The important part: do not delete your passkey, remove your Google or Samsung account, or factory reset your phone without understanding your backup setup first. That is the part people skip. Naturally. Then chaos.

What is a passkey?
A passkey is a secure sign-in credential saved on your device or in your password manager. Instead of typing a password, you approve access with the same method you already use to unlock your phone.
Fingerprint. Face unlock. PIN. Pattern.
Under the hood, passkeys use public-key cryptography. In normal human language, that means the app does not need you to type or share a password. Your device proves it has the right credential.
For crypto wallets, this matters because passkeys can remove one of the most stressful parts of getting started: writing down and protecting a seed phrase from the first minute.
If you want the bigger explanation first, read what a passkey wallet is and how it works. It gives the context before you start tapping around Android settings like a tiny unpaid IT department.
Before you start
To create your walllet.com with a passkey on Android, make sure your phone has:
Android 9 or higher, a screen lock turned on, fingerprint or face unlock set up if your device supports it, and a Google or Samsung account connected to the credential manager you want to use.
Google explains that Android passkeys can be saved in Google Password Manager and synced across devices signed in with the same Google Account. You can read Google’s official passkey guidance here: Manage passkeys in Chrome on Android.
If you are new to wallets in general, this guide on the best crypto wallet for beginners is worth reading early. It explains what matters before you put real money anywhere. An extremely boring step that saves people from extremely expensive mistakes. So, useful.
How to enable passkeys on Android with Google Password Manager
On most Android phones, Google Password Manager is the easiest path.
Open your phone’s Settings.
Go to Google.
Tap Autofill.
Select Autofill with Google.
Open Google Password Manager.
Make sure you are signed in to the Google Account you want to use.
Then check that your phone has screen lock turned on. This can be a PIN, pattern, password, fingerprint, or face unlock, depending on your device.
Once that is ready, your phone should be able to create and save passkeys when an app asks for one.
The main thing to check here is simple: use the Google Account you actually plan to keep using. If you create your wallet passkey under one account and later switch accounts carelessly, recovery can become annoying. Or worse.
How to enable passkeys on Samsung phones
On Samsung Galaxy phones, you may use Samsung Pass, depending on your phone model, One UI version, and your preferred password manager settings.
Open Settings.
Tap Security and privacy.
Go to More security settings.
Open Samsung Pass.
Sign in to your Samsung account.
Set up fingerprint, face unlock, PIN, pattern, or password when prompted.
Then go to Settings again.
Open General management.
Tap Passwords, passkeys, and autofill.
Choose your preferred service. If you want to use Samsung Pass, make sure Samsung Pass is selected.
Samsung’s own setup guide is here if your menu names look slightly different because Android apparently enjoys moving furniture around: Set up and use Samsung Pass.
On some newer Samsung phones, Samsung Pass may appear inside Samsung Wallet. The idea is the same: your phone needs a place to create and save passkeys, and you need a secure unlock method active.
Common Android Passkey Problems
Some Android devices use different passkey providers. If your passkey does not appear on another device, check:
which Google account is signed in
which password manager stores your passkey
whether your device supports passkeys correctly
Some device manufacturers may use their own password management systems, which can affect passkey availability.
Can you create your walllet.com without a seed phrase on Android?
Yes. That is the point of using passkeys with walllet.com.
When you open the walllet.com app and start creating your wallet, your Android phone will ask you to create a passkey. You confirm with your phone’s unlock method. Usually fingerprint, face unlock, PIN, or pattern.
After that, your walllet.com is created without making you write down a 12-word recovery phrase during setup.
This is still self-custody. You are still responsible for access. walllet.com does not hold your passkey for you, and it cannot casually recover it for you later because you got adventurous in Settings. A self-custodial wallet gives you control, and control has consequences. Tiny annoying sentence. Very real.
For more context, read self-custody vs exchange wallets. It explains why controlling your own wallet is different from leaving assets on an exchange.
Curious what seedless wallet setup feels like on Android? You can open walllet.com on your phone and see how passkey-based creation works, before moving meaningful funds: Explore walllet.com with Android passkeys
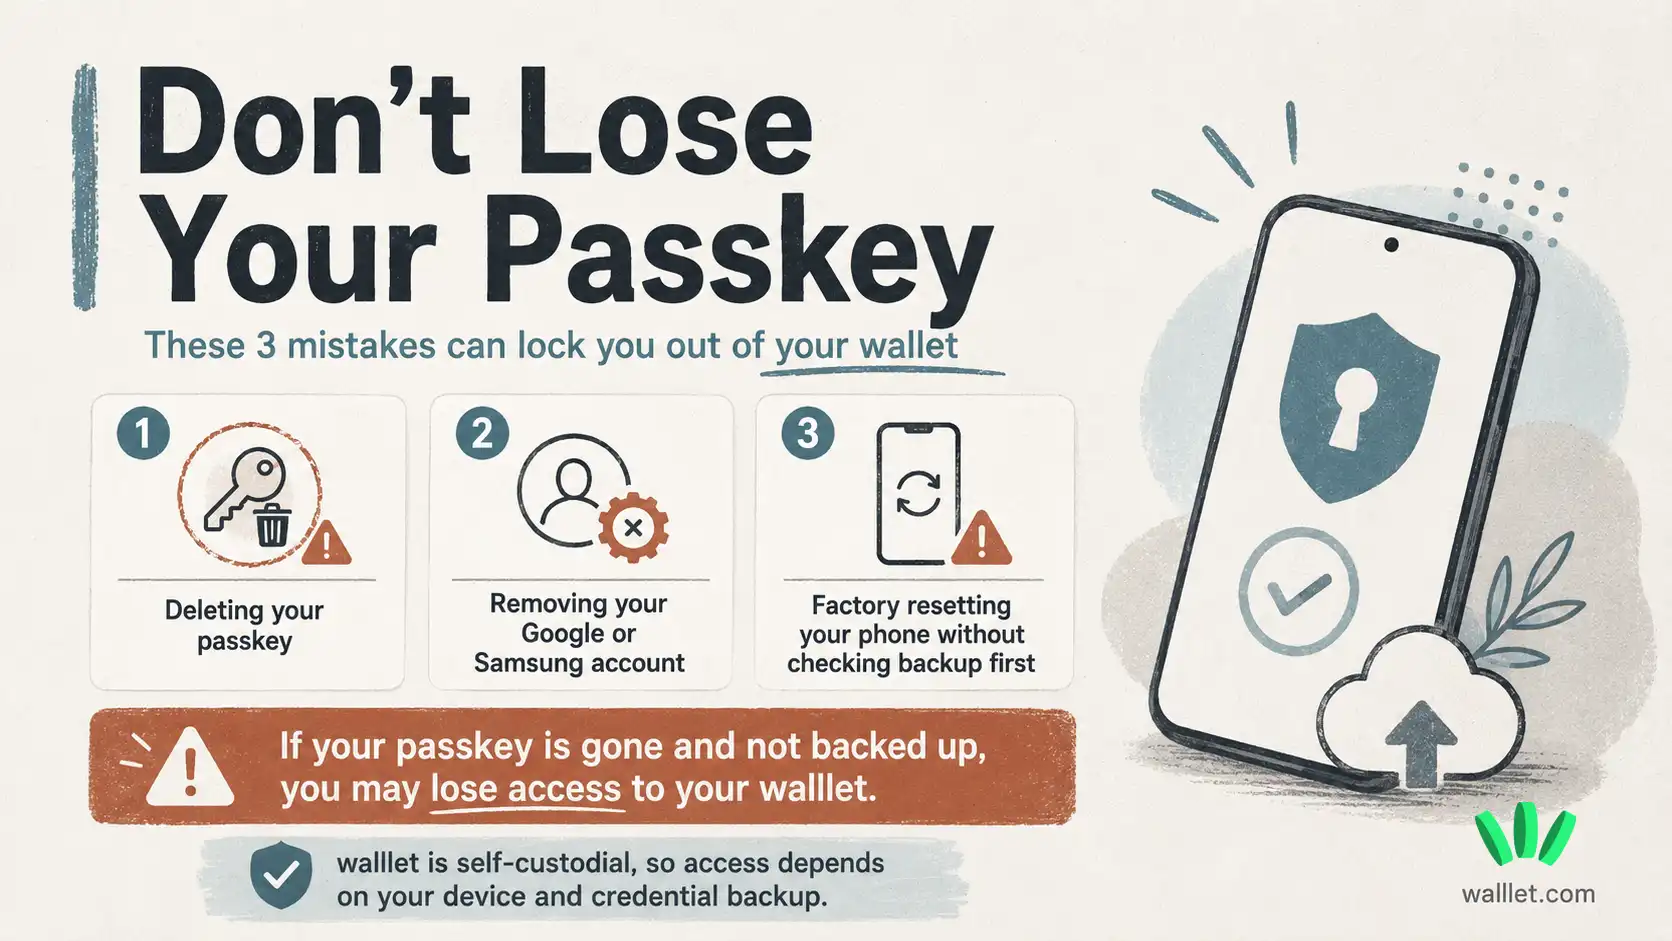
Do not delete your passkey
This is the part to take seriously.
Do not delete your walllet.com passkey.
Do not remove the Google or Samsung account connected to it without knowing what you are doing.
Do not factory reset your phone without checking your backup and sync setup first.
Do not assume the walllet.com team can restore access for you.
A passkey is not something you can “just reset” like a normal password. With a self-custodial wallet, losing access can mean losing access to your wallet.
Not dramatic. Just how the model works.
If you want a deeper explanation of what wallets actually protect, read where your crypto is actually stored. It helps clear up a common confusion: your crypto is not sitting inside the app like coins in a drawer.
What happens if you get a new Android phone?
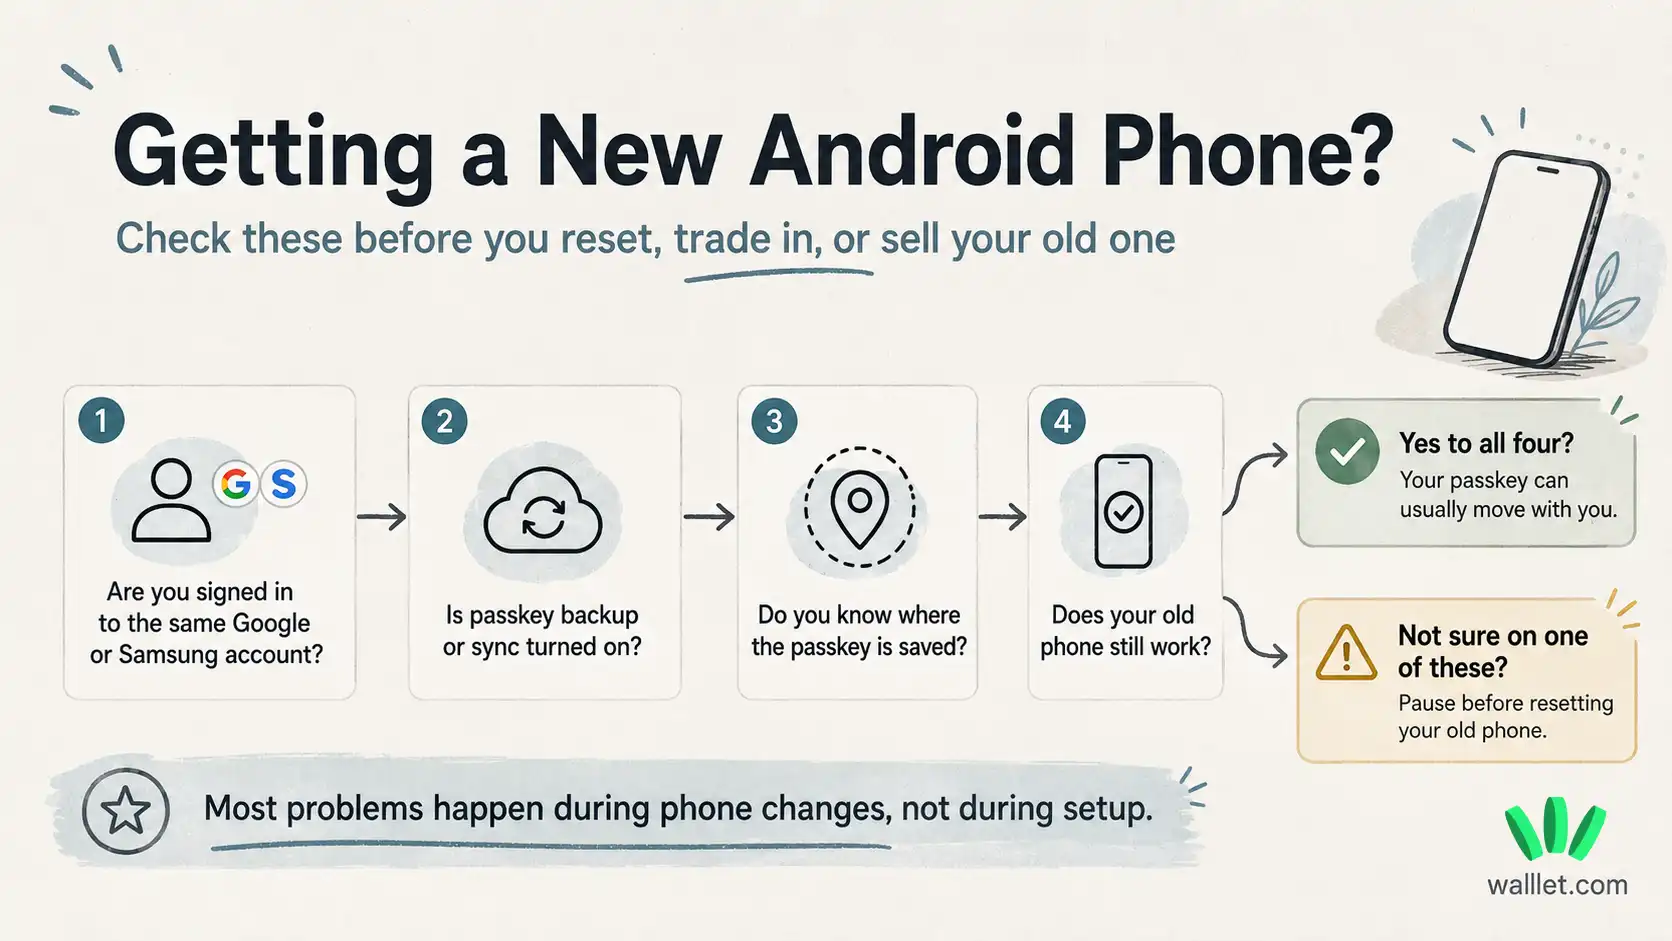
Your passkey may move to your new phone if your credential manager supports backup and sync, and if you sign in with the same account.
For Google Password Manager, that usually means using the same Google Account and having passkey sync available.
For Samsung Pass, that means using the right Samsung account and keeping Samsung Pass available on the new device.
Before switching phones, check this: Your old phone still works. Your Google or Samsung account is accessible. Screen lock is active. Backup or sync is turned on where needed. You know which password manager saved the passkey.
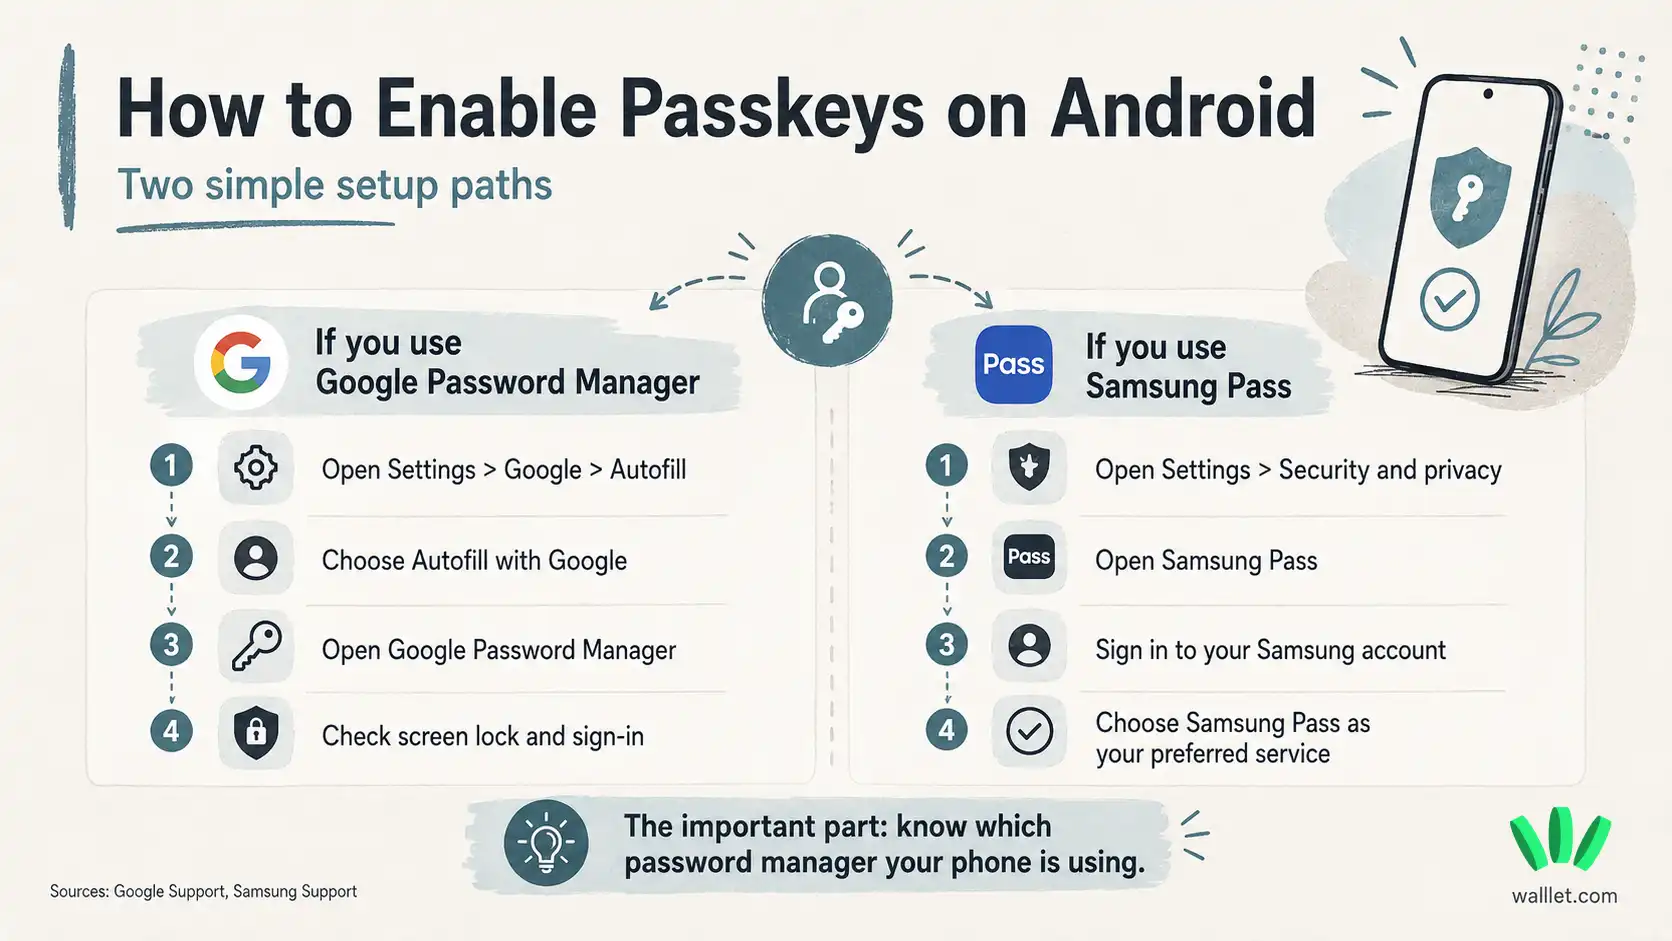
That last one matters more than people think. If you do not know whether Google Password Manager or Samsung Pass saved your passkey, future-you gets a puzzle. Future-you will not be grateful.
What if passkey creation does not appear?
First, check your Android version. You need Android 9 or higher for Google Password Manager passkeys.
Then check your screen lock. If your phone has no PIN, pattern, password, fingerprint, or face unlock, passkey creation may fail.
Next, check your preferred password manager. On Samsung phones, your phone may use Samsung Pass, Google Password Manager, or another credential manager depending on your settings.
Also update Chrome, Google Play services, Samsung Wallet or Samsung Pass, and the walllet.com app if updates are available.
Still no passkey prompt? Restart the phone and try again. Embarrassingly effective. The computing industry’s finest ritual.
Final thought
Passkeys make wallet creation feel much simpler on Android. You do not need to memorize a password. You do not need to write down a seed phrase during setup. You just use the unlock method already built into your phone.
The setup is easy. The backup part still matters.
Ready to create a seedless self-custodial wallet on Android? Start with walllet.com and use your Android passkey to create your wallet: Create your walllet with a passkey

