
Sent tokens on the wrong network and they’re not showing up? Your crypto is often not lost, it’s just sitting on a chain you’re not looking at. Learn how to verify the transaction, find your funds on the correct chain, and understand when recovery is possible or impossible.
TL;DR
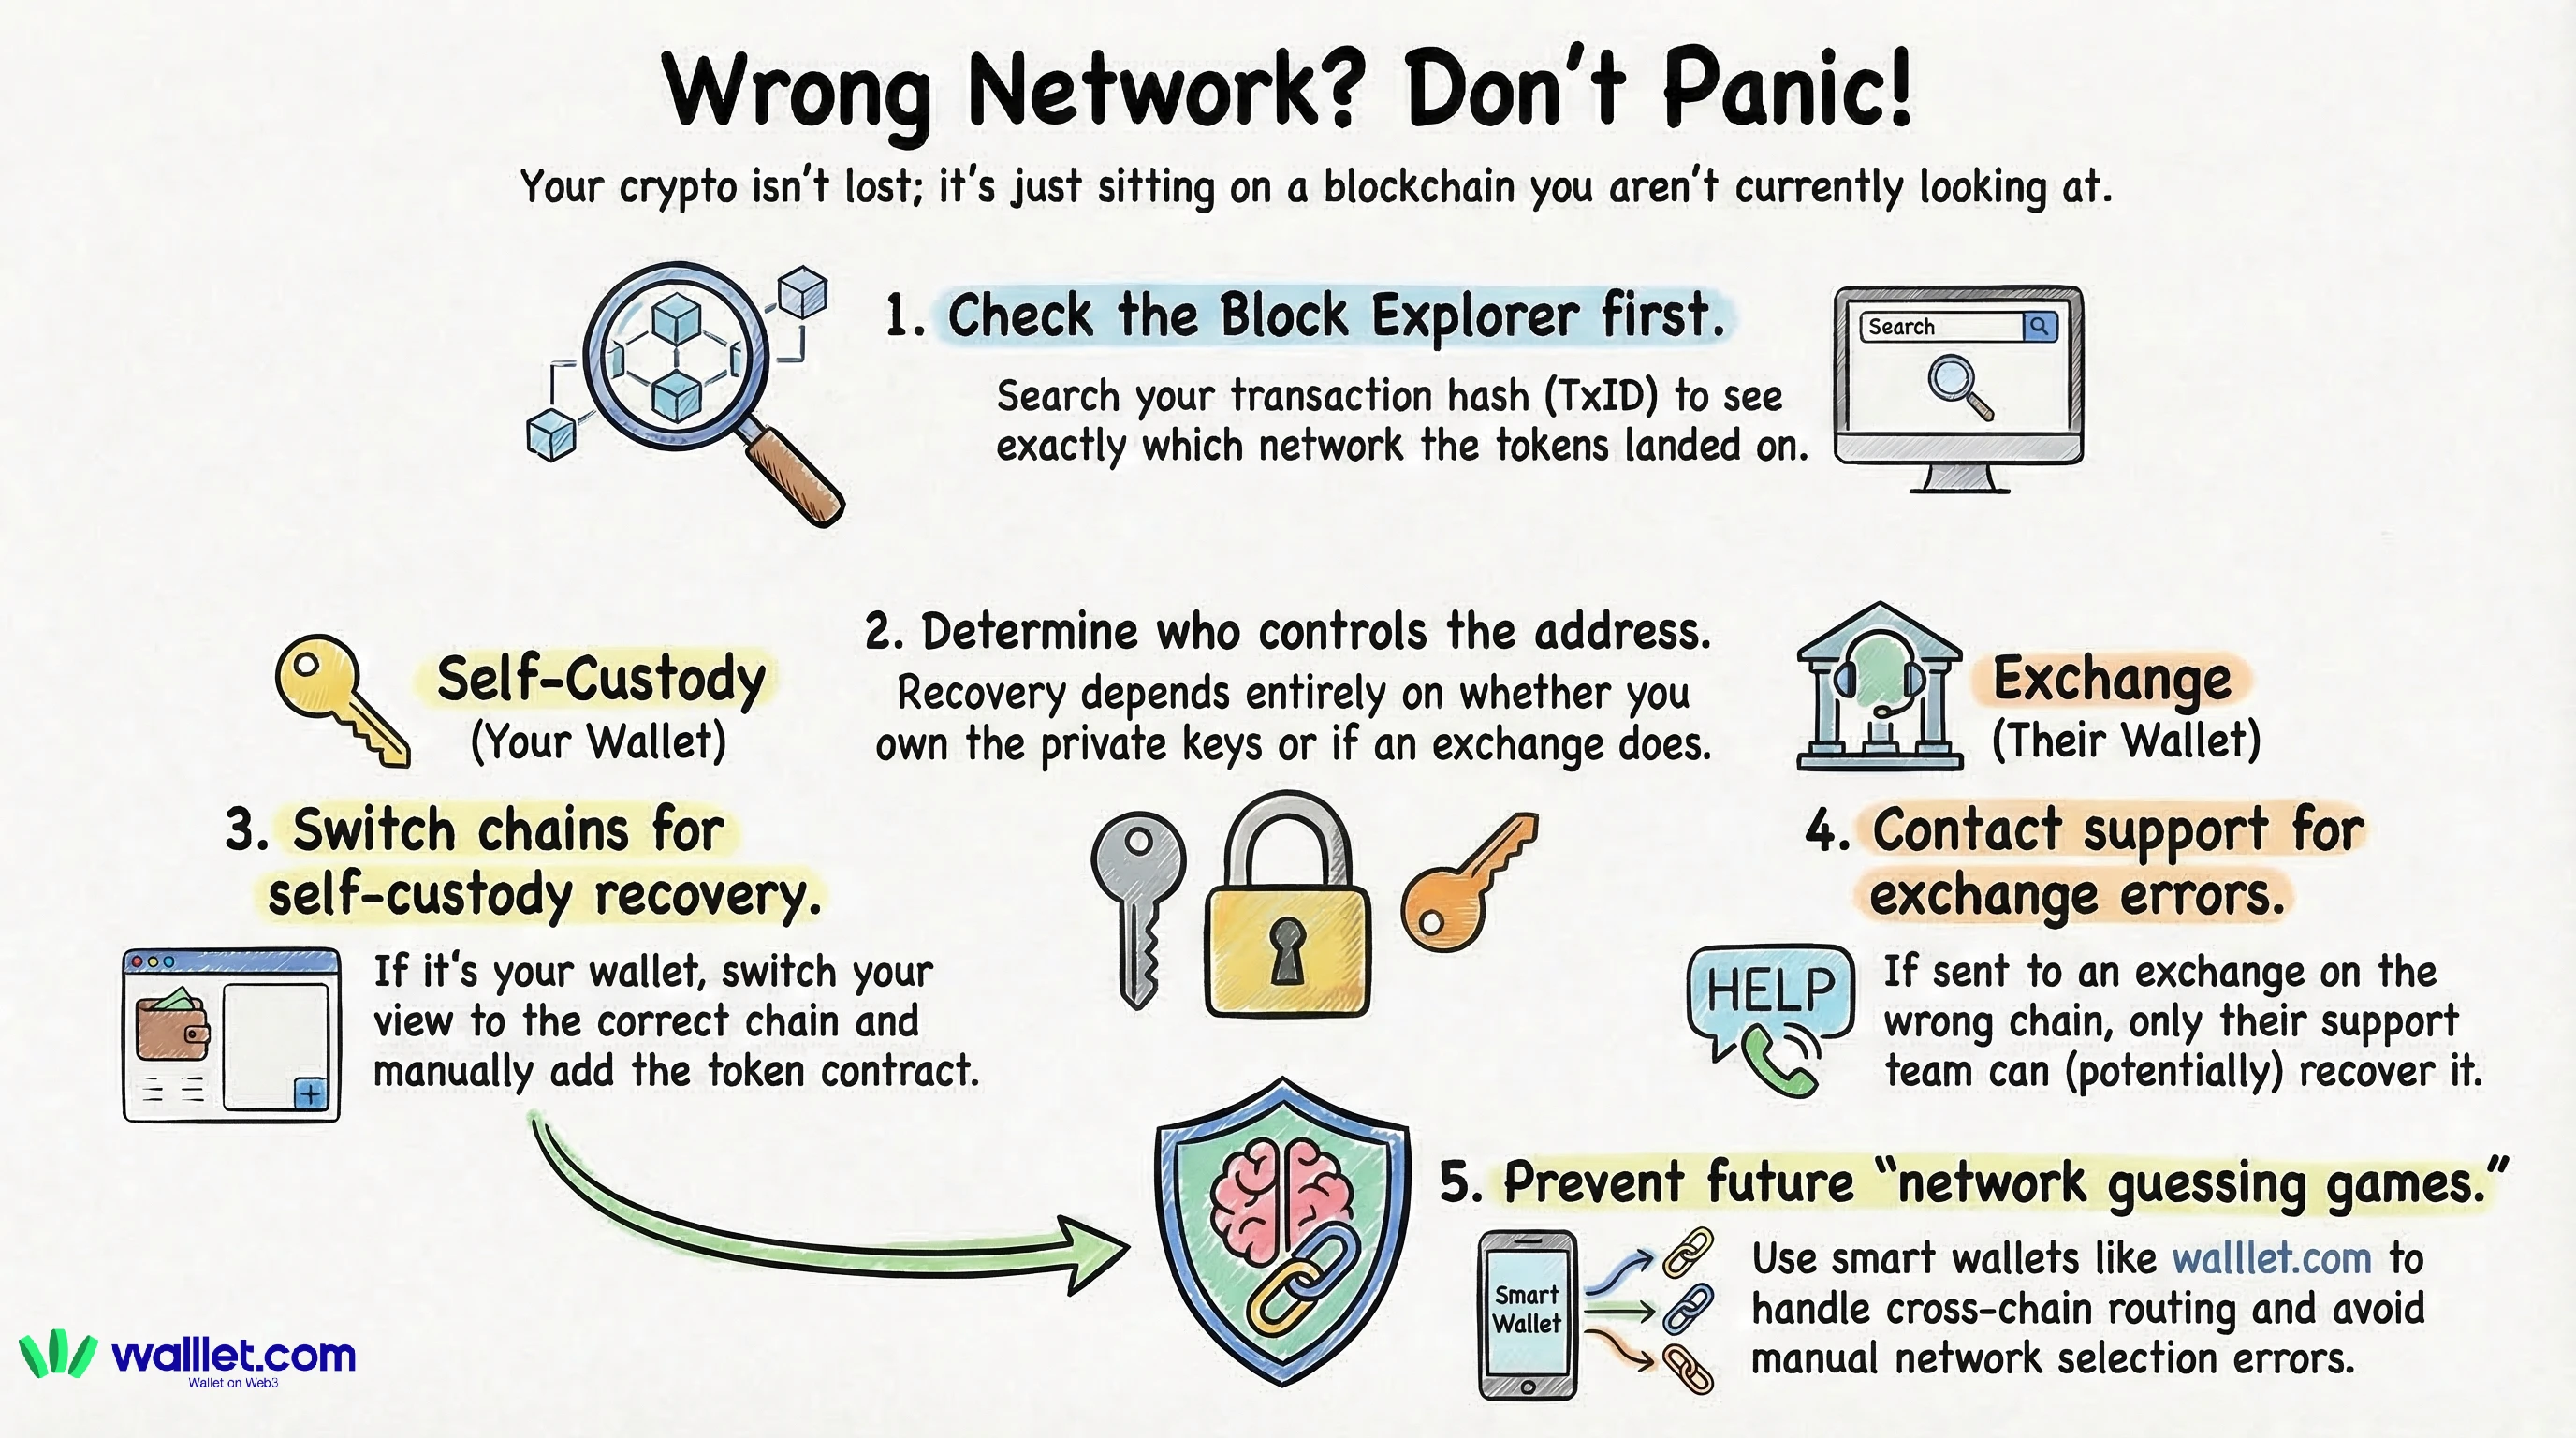
If you sent crypto on the wrong network, do this first:
Find the transaction hash and confirm which network it actually happened on.
Open the transaction in a block explorer for that same network and check the recipient address balance there. Block explorers are the source of truth.
If you control the recipient address (self-custody), recovery is often possible on EVM chains because the same key can correspond to the same address format across networks.
If the destination is an exchange deposit address, recovery depends on the exchange and is not guaranteed.
Never share your recovery info with “asset recovery” strangers. Most are scams.
A scary moment: you withdraw or send tokens, the transaction says “successful,” but your wallet balance looks unchanged. The first instinct is “I lost everything.” In many cases, you didn’t. What usually happened is simpler: the tokens arrived on a different network than the one your wallet is currently showing.
Related: How to Read a Crypto Transaction on a Block Explorer
This guide will help you confirm what happened in a few minutes, understand when recovery is possible, and avoid the mistake next time. I’ll also show how walllet.com fits into this workflow, especially if you want fewer “network guessing games” in your daily crypto life.
What “Wrong Network” Actually Means
When people say “wrong network,” they usually mean one of these:
Situation | What Actually Happened | Can You Recover? | What To Do |
|---|---|---|---|
Sent token on the wrong EVM network to your own wallet | The funds exist on another EVM chain under the same address format | Usually yes | Switch wallet to the correct network, add the token if needed, and move it using a bridge or cross-chain swap |
Wallet shows the wrong chain | The tokens are on-chain but your wallet is displaying a different network | Yes | Change the network view and check the token balance again |
Token sent to exchange using unsupported network | The transaction succeeded on-chain but the exchange may not support that network | Sometimes | Contact exchange support with TxID and transaction details |
Token sent to someone else’s address | The transfer is valid and irreversible | No | Only the recipient can send the funds back |
Token sent to wrong address | Funds went to a different wallet | Very unlikely | Recovery depends entirely on the recipient |
Token exists but not visible in wallet | Wallet did not auto-detect the token contract | Yes | Add the token contract manually in your wallet |
Sent to a smart contract that cannot receive the token | The contract does not support that token type | Rarely | Recovery may require contract-specific tools or may be impossible |
Sent across incompatible ecosystems (EVM → Solana/Tron etc.) | Address formats and key systems differ | Depends | Recovery requires chain-specific access or platform support |
You used the wrong chain for a real token
Example: You meant to send USDC on Ethereum, but you sent USDC on Arbitrum or Base.
Result: The funds can be real and safe, but they will only appear when you view that same chain.
You sent to the right address, but the wallet is looking at the wrong chain
Many wallets show one network at a time. Your token is not missing, your view is.
You sent to an exchange deposit address on an unsupported network
Example: You sent a token to a CEX deposit address, but used a network the exchange does not support for that asset.
Result: The transaction can be confirmed on-chain, but the exchange may not credit it automatically. Recovery may require support, may take time, may include fees, or may be impossible.
You sent to the wrong address (this is different)
If the address is wrong, this is not a “network” problem. It’s an “address” problem, and recovery is usually not possible unless the recipient cooperates.
What To Check First (Do This Before You Panic)
This is the fastest checklist that saves the most people.
1) Get the transaction hash (TxID) and the exact recipient address: If you sent from an exchange, copy the withdrawal TxID. If you sent from a wallet, copy the tx hash from your activity screen.
2) Confirm which network the transaction happened on: Do not trust your memory. Look at the transaction in a block explorer that clearly shows the chain and token transfer details. Blockscout’s guides are good for learning what you’re looking at.
3) Search the recipient address on the same chain explorer: This is the key move: open the address page on the explorer for that chain and check token holdings and transfers.
If the token is visible there, your funds are on-chain and not gone. You are just viewing the wrong network in your wallet.
4) Identify the “destination type”: Ask one question: “Do I control the recipient address?”
If it’s your self-custody wallet address: you likely control it.
If it’s an exchange deposit address: you do not control it.
If it’s someone else’s wallet: you do not control it.
This one question determines whether “self-recovery” is possible at all. BNB Chain’s docs sum it up well: recovery depends on controlling the private key of the destination address.
5) Check whether the token is just “not showing”: Sometimes the token is there but hidden. Common reasons:
You’re on the wrong chain view
The token is not auto-detected
You need to add the token contract to display it (varies by wallet)
Even experienced users get tricked by “invisible but present.”
When Recovery Is Possible
Let’s be precise. Recovery is often possible when these are true:
Scenario A: You sent between EVM-compatible networks to your own address
Many EVM-compatible networks share the same address format, and the same key can map to the same address across networks. What that means in real life: if you sent to your own 0x… address on the wrong EVM chain, the funds may still be sitting under “your address,” just on that other chain. How you “recover” in practice:
Switch your wallet view to the chain where the transaction happened.
Make sure the token appears (sometimes you need to add it).
Get a tiny amount of the chain’s native gas token (ETH on Ethereum, POL on Polygon, etc.) so you can move the funds if needed.
Move it back the correct way: often the safest is a bridge or cross-chain swap designed for that route.
If you’re using walllet.com, the best prevention move is to avoid direct exchange withdrawals across chains when you don’t have to. Use the built-in swap and cross-chain routes where possible so the app handles the “which network am I on” headache more gracefully.
Related: why gas exists on every chain?
Scenario B: You sent to a wallet that supports both networks
Some wallets can “see” multiple chains or easily add them. In these cases, the token is often already there, but you need to enable the chain or add the token.
Scenario C: You sent to an exchange, and the exchange offers a recovery process
Some exchanges have deposit recovery flows for certain mistakes, and some will attempt manual recovery. It’s still not guaranteed, and it may involve delays and fees. If this is your case, stop trying random “fixes.” Your best move is to prepare a clean support ticket with the exact info (more on that below).
When Recovery Is Not Possible (Or Extremely Unlikely)
This section is not here to scare you. It’s here to save you time and protect you from scammers.
You sent to the wrong address
Blockchains do not have a “chargeback.” If the address is wrong, you generally can’t reverse it. (Some educational writeups explain this clearly: transactions are irreversible once confirmed.)
You sent to an exchange deposit address on a network the exchange cannot access
Even if the address format looks familiar, the exchange may not have tooling or custody on that chain. Outcomes vary by exchange policy and infrastructure.
You sent to a contract address that cannot handle the token
Some addresses are smart contracts that do not support receiving arbitrary tokens. Funds can become stuck without a recovery method.
You sent to a non-EVM chain by mistake and your wallet cannot access it
If you sent to a completely different ecosystem (EVM vs Solana vs Tron vs Cosmos), “same address” logic may not apply. Recovery depends on chain-specific details and custody.
Step-by-Step Recovery Playbook (Use This Order)
Step 1: Verify the chain and token transfer on a block explorer
Use a reputable explorer for the chain the tx happened on. Block explorers work like search engines for blockchain data. What you need to confirm:
Network name
Token contract (if relevant)
Recipient address
Amount transferred
Status: success
Step 2: Confirm the funds are sitting at the recipient address on that chain.
If the address page shows the tokens, you have “located the funds.” That is huge progress.
Step 3: If it’s your own wallet address, make the wallet show the correct chain
Do one change at a time:
Switch to the chain where the funds are
Look for the token
If it doesn’t display, search the token contract address from the explorer and add/import it (wallet-dependent)
Step 4: Get the right gas token to move funds (if you need to move them)
This catches people: your token might be visible, but you can’t move it because you don’t have the chain’s native gas asset. Example: your USDC is on Arbitrum but you have no ETH on Arbitrum, so transfers fail.
Step 5: Move back using the correct method
Options, from most “idiot-proof” to most “manual”:
Cross-chain swap (if available)
A well-known bridge (for that token and route)
Send back to the original platform if they support that chain and deposit method
If you already use walllet.com, check if you can do the correction inside the app’s swap and routing flow. That often reduces the number of separate steps and places where you can select the wrong network.
Special Case: “What If the Address Exists on Both Chains?”
This is the most confusing part for beginners, and it’s worth clarifying.
On EVM-compatible chains, the same private key can generate the same address format across networks. That’s why you can see the same 0x… address on multiple chains. Important nuance:
Same address does not mean same balance.
Each chain has its own ledger. Your funds live on the chain you actually used.
So if you sent to your address on the “wrong chain,” the funds can be waiting there, quietly, until you look at that chain.
If an Exchange Is Involved: How to Write a Support Ticket That Gets Help
If you sent to an exchange deposit address, your goal is to make support’s job easy. Include:
TxID (hash)
Network used
Asset sent (and token contract if asked)
Amount
Deposit address
Screenshots of the explorer page showing the transfer succeeded
Exchanges that attempt recovery will typically ask for exactly this.
How to Avoid Sent Crypto on the Wrong Network
You don’t need paranoia. You need a habit.
Always match the network on both ends (sender and receiver).
Do a small test transaction first when moving large amounts.
Keep a little gas on the destination chain if you use it often.
Prefer in-wallet cross-chain routing when possible instead of manual exchange withdrawals.
If you use walllet.com, treat supported networks like “allowed lanes.” Stay in the lanes, and you avoid most wrong-chain accidents.
How walllet.com Prevent Sending Crypto on the Wrong Network
walllet.com is built around a simple idea: reduce the number of high-stakes decisions users have to make (like choosing the wrong network), while still keeping the user in control. In practice, that means:
For day-to-day moves, you can often swap and route inside the wallet instead of jumping between multiple apps and chain settings.
When you do need to transfer, you can use this article’s checklist to verify chain, explorer data, and token visibility before assuming anything is lost.
Before you try random fixes, confirm the chain on a block explorer. Then open walllet.com and use the safest route (swap or cross-chain move) that matches where your funds actually are.
